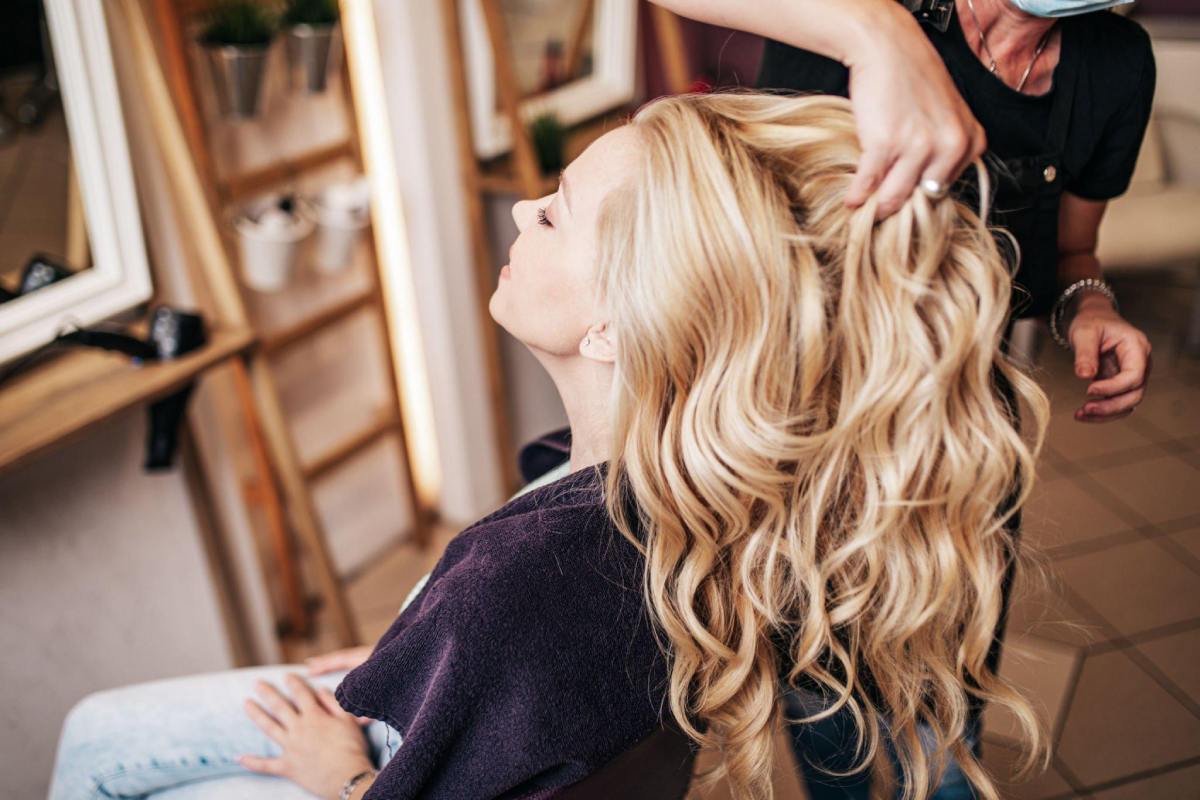
Common Balayage Mistakes and How to Fix Them – Balayage is one of the most commonly requested hair coloring techniques asked for by customers these days, which means it’s vital that you know how to properly implement the technique. Balayage can create a beautiful, soft look that appears natural and fluid. This highlighting method differs from other techniques because you are hand-painting on the hair. Balayage is a French verb meaning “to sweep,” which is important to remember as you learn the painting motion. Think of your hand as sweeping over the different sections of hair. Using a professional hair lightener will help guarantee that you create a gorgeous color.
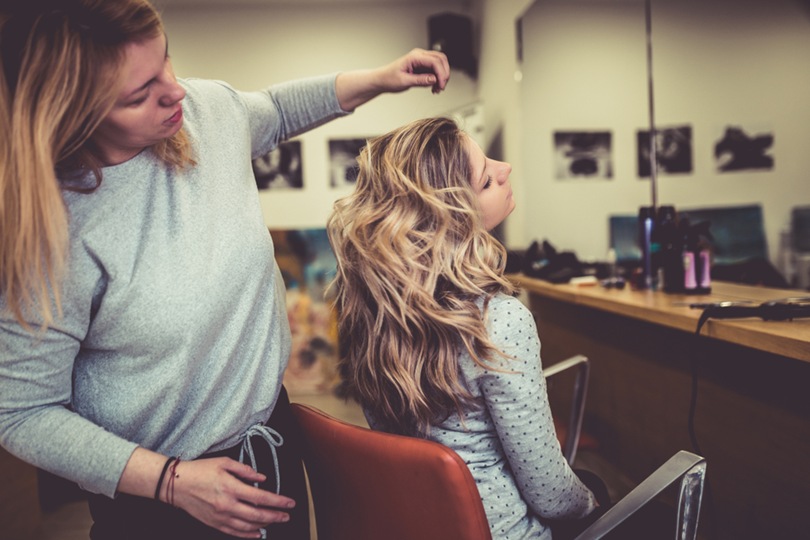
In order to create beautiful balayage tresses for your clients, read on to discover the nine most common balayage mistakes and how to avoid them.
Common Balayage Mistakes
1. Using the Wrong Product
It’s essential that you consider what type of hair you are painting on when using a balayage method. Thinner hair types will likely need thicker products to ensure that it is sticking to the hair and creating the right effect, while thicker hair will require a looser consistency of product. Find your client’s favorite professional hair color brand and make sure it works well with their hair type.
2. Lightener Bleeding Over
A common balayage mistake is when the lightener begins to bleed over into other strands of natural hair that are not meant to be lightened. When balayaging hair, you only hand paint over sections, not lightening the entire head. Be mindful of separating the lightened pieces from the darker pieces to avoid this type of bleeding over than can cause the color to look uneven and unintentional.
3. Painting from the Wrong Height
Carefully consider the height from which you are painting lightener onto someone’s head. Without the right elevation, you may end up painting too close to the scalp or too close to the ends. The correct height will allow you to paint between these two areas, creating a look that naturally fades from one color to the next.
4. Inconsistent Saturation
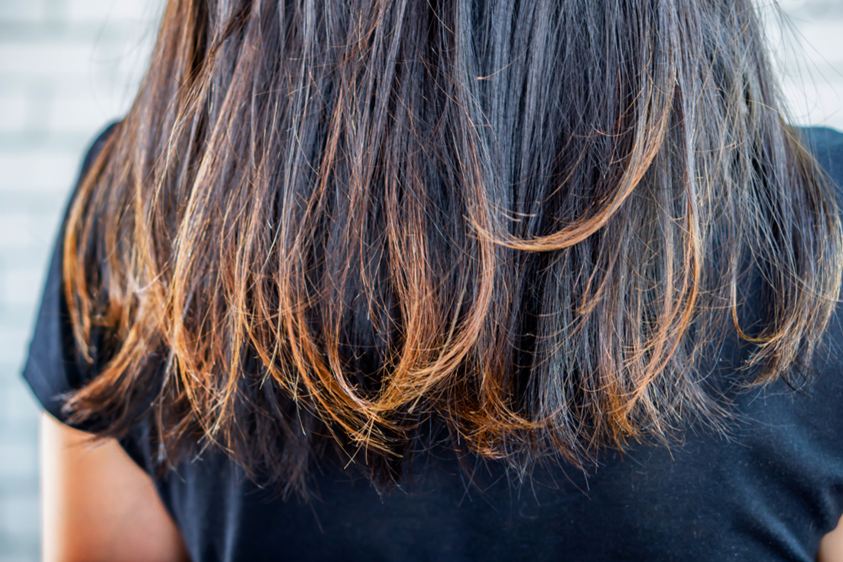
To properly create a balayage look, there should be some level of inconsistency — some pieces will be lightened more than others. This creates a natural look. But, you need to ensure that you are properly saturating each area to create the right effect. Be sure to cover the section of hair you are working with to make sure the color lifts enough. If you can see hair strands through the applied lighter, you probably have not used enough. Other areas of the hair can be less saturated, but be sure to flow these sections into darker and lighter sections of the hair.
5. Not Enough Tension on Hair
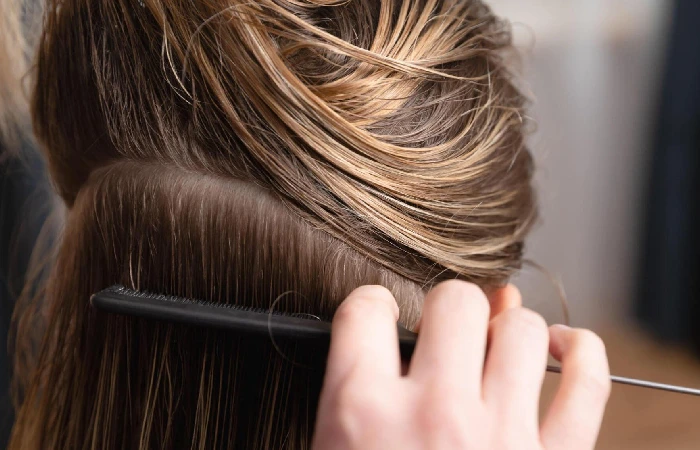
You need to create tension while balayaging sections of hair, which will allow you to cover the area evenly. Without the right amount of tension, you risk the lightener bleeding into other areas or “buckling” and unintentionally applying product to an area.
6. Painting with the Tip of the Brush
You should have a variety of brush types for different kinds of hair when balayaging. But, use the full brush rather than just the tip when covering areas. This will create definition and full, even color. Using the tip of the brush may cause you to miss spots or undersaturate, causing the hair not to lighten properly.
7. Using Short Strokes of the Brush
To give clients a natural, flowing, sun-kissed look, be sure to use long strokes of the brush. This will create the smooth blending of color desired, preventing any harsh color changes.
8. Incorrectly Sectioning Off Hair
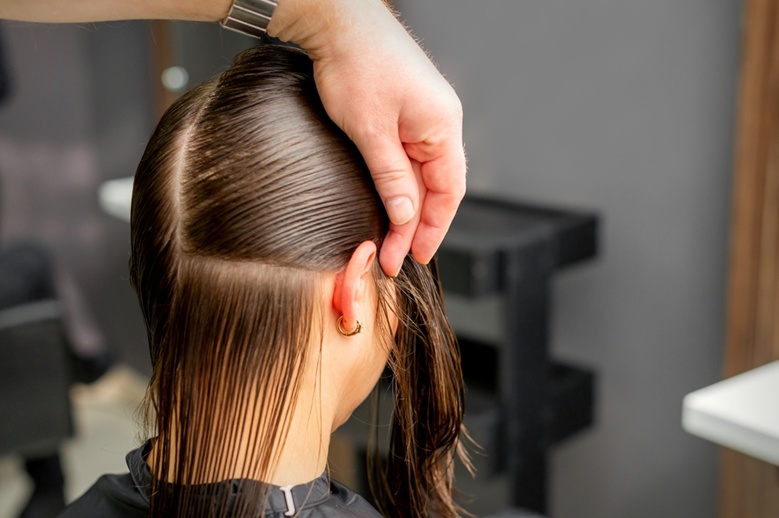
The way in which you section off hair from dark to light will directly impact how natural the balayage looks. It also depends on the outcome your client is looking for. If they want light sections that are more stark, you’ll want to use smaller sections for this color. Thicker sections of hair will lighten less and act more as a lowlight. Using a balance of thicker and thinner areas will help achieve that natural flow.
9. Not Using the Correct Types of Brushes
There are several different kinds of brushes you can use when doing balayage. A wide foam brush allows for more control over product placement as it has an angled tip. This is a good brush to use on finer hair, but because it is made of foam, it soaks up a lot of product allowing for less saturation. A traditional paintbrush is a typical tool used for balayage on those with thin to thick hair and works better on larger sections. A melt brush allows for precise control and works best on those with fine to medium hair. Knowing when to use which brush will help you achieve a cleaner, gorgeous look.
Know Your Balayage
Balayage can be a more difficult technique to achieve, but the outcome is worth the time. Avoiding some of these common balayage mistakes will help you build trust with your clients and create beautiful looks on every hair type.
