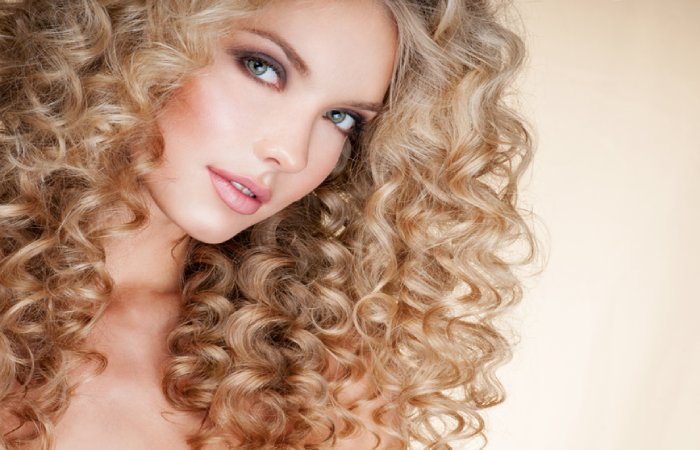
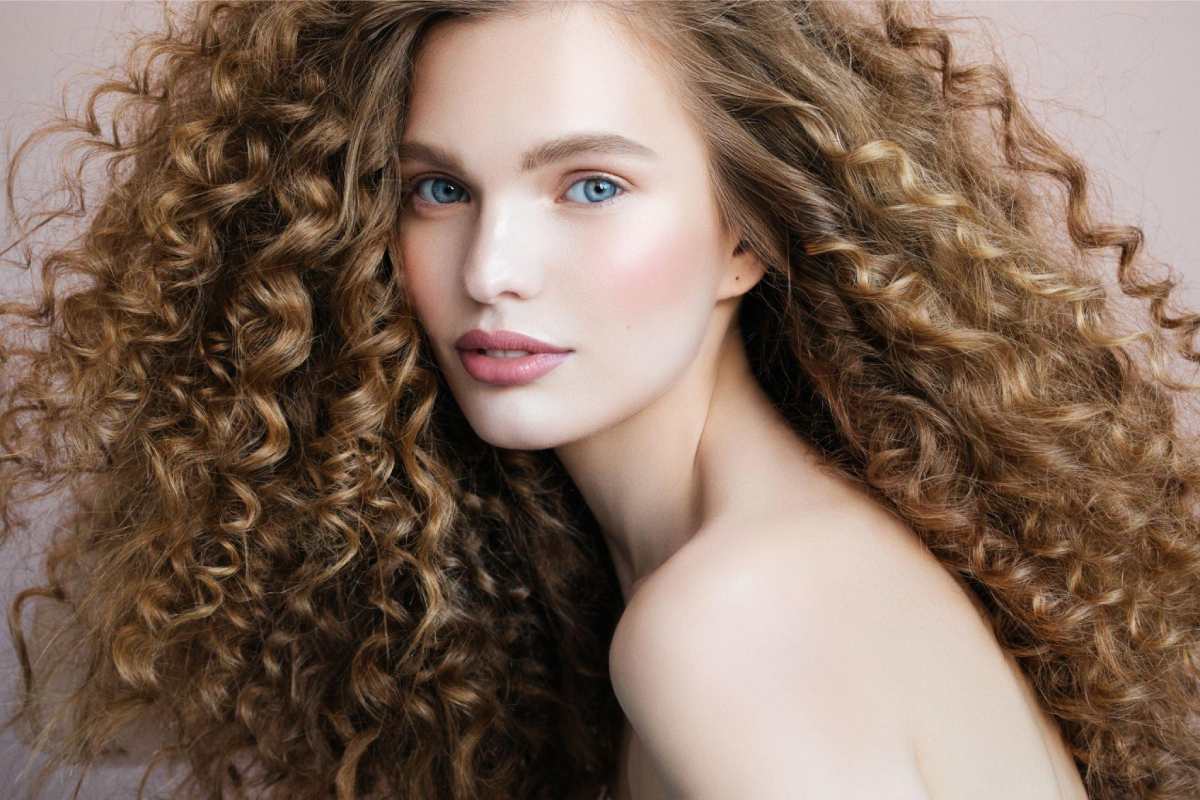
Managing curly hair may present its unique challenges, but it also opens the door to an array of exciting creative opportunities. And as a professional colorist, you play a vital role in helping your clients rock their different types of curls. Today, we’re exploring a technique known as “cloud highlights,” which are all about adding depth and dimension to curly hair. It’s a technique that blends color and texture to create a unique, multidimensional effect. But how can you master it, and what should you watch out for?

In the following sections, we’ll explore every aspect of hair clouding for curly hair — from the technique itself to common mistakes and essential tips. Let’s dive in and take your skills to the next level!
What Are Cloud Highlights for Curly Hair?
Before we get into the nuances of cloud highlights, let’s demystify this intriguing technique. Cloud highlights, often referred to as “hair clouding,” are a cutting-edge approach to enhancing curly hair’s natural beauty. This method involves a hands-on process in which you scrunch carefully formulated hair color into your client’s hair.
The result? A mesmerizing, multidimensional effect that mimics the soft, billowy appearance of clouds.
The magic of clouding lies in its ability to transcend the traditional boundaries of hair coloring. Instead of uniform streaks or highlights applied with a brush, clouding creates a unique, ethereal look that appears completely natural. Each curl has a sun-kissed glow and shows off a natural blend of shades that highlights the beauty of each strand.
But clouding isn’t just a new technique to try. It’s an art that requires a deep understanding of curly hair’s characteristics. It’s all about enhancing the intrinsic beauty of every curl, allowing them to shine individually and collectively.
Understanding the Different Types of Curls
Now that we have a clearer picture of what cloud highlights entail, it’s important to recognize the diverse variety of curls that grace your clients’ heads. From loose waves to tight coils, understanding the different types of curls is the first step in learning to do cloud highlights

Step-by-Step Guide: How to Do Cloud Highlights
Now that you’re acquainted with the concept of cloud highlights, roll up your sleeves and dive into the practical side of things. This step-by-step guide will lead you through the entire process, ensuring you’re well-equipped to unveil the magic in your clients’ curls.
Step 1: Consultation and Curl Analysis
Every hair appointment should begin with a consultation to make sure you and your client are on the same page. Begin by talking to your client to understand their vision and desired look. Analyze their curl pattern, density and current hair condition. This step is critical in determining the right products and techniques for each client.
Step 2: Product Selection
Select professional hair care products that align with your client’s desired color and the contrast level they wish to achieve. Be sure to choose a hair lightener that complements their natural hair color and enhances its beauty. Now is not the time to go for a dramatic look.
Step 3: Preparing the Hair
Wash and dry your client’s hair using quality shampoo and conditioner. Before moving on to the next step, make sure the hair is completely dry to guarantee the best results.
Step 4: Application
Here’s where the magic begins! Squeeze or pour a small amount of hair lightener into your hands. Then, start applying it strategically, focusing on individual curls. Avoid using too much product because it can create a heavy, unnatural look. With this technique, less is more.
Step 5: Scrunching Technique
Use your hands to scrunch the product into the hair, focusing on mid-lengths to ends. The scrunching motion helps create a cloud-like texture while allowing the curls to retain their natural bounce. Remember — subtlety is key here.
Step 6: Time and Rinse
Once you’ve applied the lightener, let it sit for the time recommended by the product’s manufacturer. Then, rinse until the water runs clear. Finish with conditioner to nourish your client’s curls.
Step 7: Style
Style your client’s hair as desired, and the transformation is complete!
Common Mistakes and How to Avoid Them
Make sure your client leaves the salon fully satisfied with their new look by avoiding these mistakes:
- Product Overload: Applying too much product weighs down the hair and can result in a heavy, unnatural appearance. Use a small amount and build up as needed.
- Inadequate Consultation: Skipping the consultation can lead to misaligned expectations. Make sure you understand your client’s desires and set realistic expectations.
- Neglecting Curl Analysis: Each curl type behaves differently. Failing to analyze the client’s curl pattern may result in uneven cloud highlights.
Caring for Cloud Highlights
Once you’ve worked your cloud highlighting magic, it’s essential to ensure your client’s hair remains vibrant and healthy. Recommend sulfate-free shampoo and conditioner specifically designed for color-treated hair. These products gently cleanse and protect the color without stripping away moisture.
To keep those curls luxuriously soft, suggest deep conditioning masks enriched with hydrating ingredients. Curly hair thrives on moisture, and these masks help lock in the luster. Additionally, recommend styling products that cater to curly hair’s unique needs, like frizz control and curl definition.
Encourage your clients to embrace heat-free styling methods or use a diffuser attachment when possible. Excessive heat can lead to dryness and frizz, which you want to avoid with highlighted curls.
Wrapping Up

Congratulations! You now have the comprehensive knowledge required to master the art of hair clouding for curly hair. The step-by-step guide above and insights on common mistakes and how to avoid them ensure you are well-equipped to transform your clients’ curls into captivating, cloud-like wonders.
Remember — practice makes perfect. As you refine your clouding technique, you’ll become a master of this art and learn to leave your clients spellbound after every visit. Enjoy your journey as a curly hair artist, and never stop learning new techniques and refining your skills. Your clients will thank you for it and come back to you time and time again when they want to refresh their looks.


