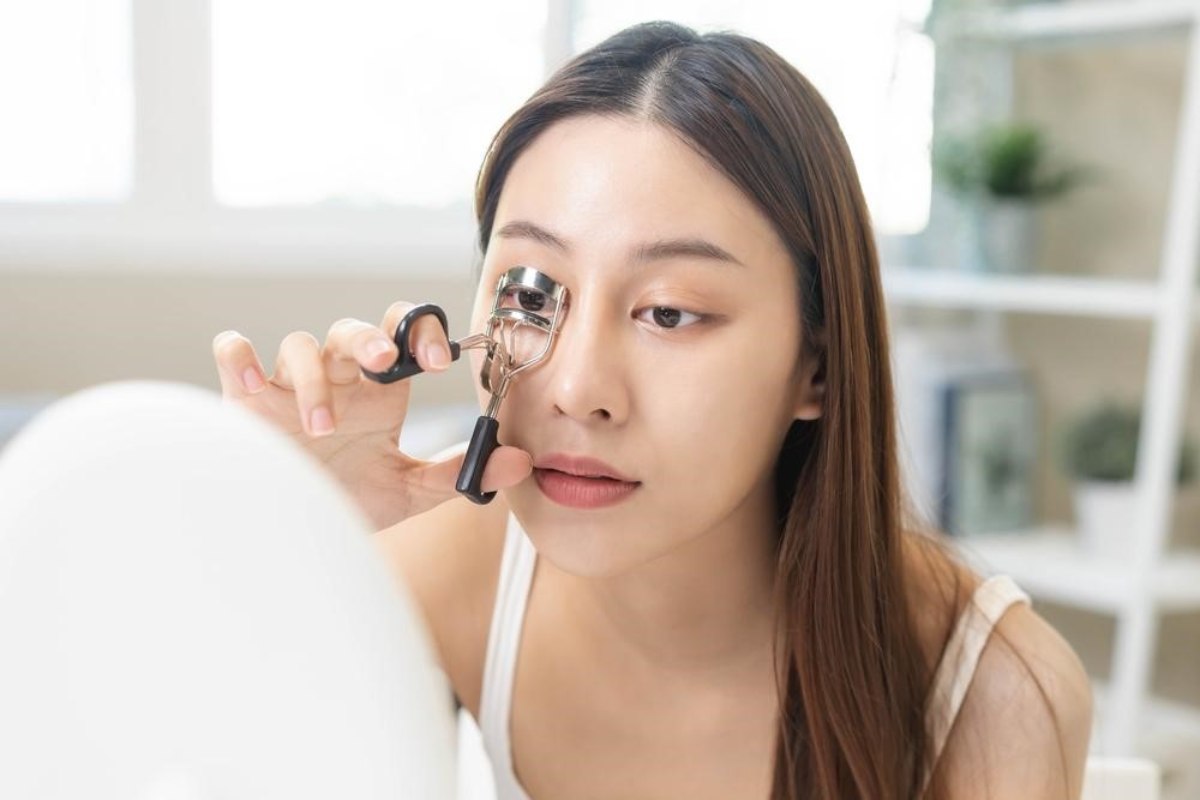
An eyelash curler should be a staple in everyone’s makeup routine. It can transform your lashes from straight and lackluster to beautifully lifted and voluminous in seconds! Adding this essential beauty tool to your cosmetic bag enhances your eye makeup look by making your eyes appear larger and more defined. Whether it’s your first time experimenting or you don’t use your curler as often as you’d wish, let’s explore seven essential tips for prepping your lashes, mastering curling techniques, and enhancing your look for long-lasting results.
The Value of Owning and Using an Eyelash Curler
An eyelash curler is a game-changer in your beauty routine! It’s a simple tool that helps open up your eyes, creates a lifted look, maintains a curl, and increases the impact of your mascara. In fact, they are also great for making your eyes look wider and more awake even when you don’t add mascara. The addition of this crucial step is sure to enhance your look no matter the occasion. Here are a few additional prep and aftercare tips to help you curl your lashes like a pro:
Prepping Your Lashes
Prepping your eyelashes before using an eyelash curler is essential for achieving the best results and ensuring their health. This crucial step helps prevent damage, promote a longer-lasting curl, prevent eye irritation, and improve mascara application.
1. Clean Lashes for Best Results
Before using your eyelash curler, ensure your lashes are clean and dry. Residual makeup or oils can hinder curling and even damage your lashes. Use a gentle eye makeup remover to clean your lashes thoroughly, and wait until they are completely dry before curling. This step will give you the best chance of achieving a long-lasting curl — that’s the goal, after all! While you’ll likely want to incorporate an eye lift cream in your skincare routine, be careful not to let it touch your lashes so as not to hinder your results.
2. Choose the Right Curler
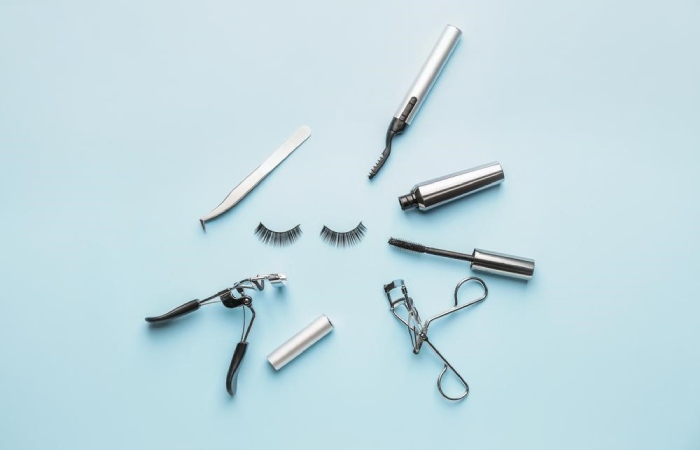
When it comes to eyelash curlers, there are two main options:
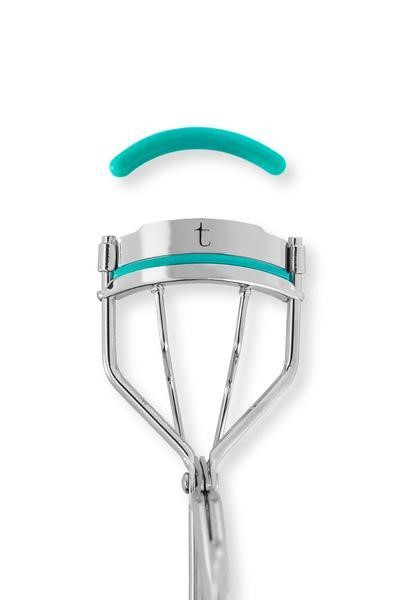
- Traditional Curlers: A traditional eyelash curler is a classic beauty tool used to curl and lift eyelashes, giving them a more defined and dramatic appearance. Fun fact: The first eyelash curler as we know it today was invented in 1923! Even today, it’s typically made of metal, often steel or aluminum, which provides durability and stability. The inner part of the curler has silicone or rubber pads that come into contact with the lashes. These pads are designed to be gentle on the lashes while providing a good grip.
- Heated Curlers: A heated eyelash curler is a modern variation of the traditional one. Its built-in heating element warms the curler’s curling pad, helping to set the curl in your lashes. They’re handy for those with stubborn or straight lashes.
Source: Pixel-Shot/Shutterstock.com
Consider your eye shape to choose the proper curler. A standard curler should work well for almond-shaped eyes. A curler with a more curved shape or a heated version might be more effective for round or deep-set eyes.
Curling Techniques
While there are several different types of eyelash curling techniques (backward curl, side curl, double curl, and more), the basic technique is suitable for all lash types and eye shapes and is the perfect place to start!
3. Use Proper Positioning
Positioning is a key factor in achieving a good curl. Set yourself up for success by placing the curler at the base of your lashes, close to the roots, but not pinching your eyelid. Ensure that all of your lashes are inside the curler. Take a quick look in the mirror to ensure no lashes are left out.
4. Master The Curling Process
- Clamp Gently: Close the curler slowly to avoid pulling on your lashes. Apply a gentle pressure. Use a gentle pumping motion rather than a single hard squeeze for a natural, long-lasting curl. This technique ensures a more even curl and reduces the risk of lash breakage.
- Hold: Keep the curler in place for about 5-10 seconds. If you prefer a more pronounced curl, you can hold it slightly longer. However, don’t make the mistake of holding down the clamp lengths of time, as this can lead to your lashes being pulled out or falling out due to the stress of continuous clamping.
- Release: Open the curler slowly to check the curl. If needed, you can repeat the process for a more defined curl.
5. Enhancing Your Curl
You can use a heated curler or warm your traditional curler slightly to enhance the curl. If using a traditional curler, heat it gently with a blow dryer for a few seconds, but make sure it’s not too hot to avoid burning your lashes!
Layering mascara over your curled lashes can help set the curl and add additional volume. Apply a coat of volumizing mascara after curling, and avoid rubbing your lashes to maintain the shape. Never curl your lashes after applying mascara, as this can lead to damage and even accidentally plucked lashes!
Maintenance and Care
The health of your lashes and the longevity of your curler depend largely on how you care for your tool.
6. Regularly Clean Your Curler
While the application process is the fun part of makeup artistry, it’s critical that you know how often to clean your makeup tools. Cleaning your tools, such as your eyelash curler, is essential to prevent bacteria buildup and keep it in good condition. Studies have found that eyelash curlers are dirtier than a kitchen sink and are considered the filthiest tool in your makeup bag — but only if not cleaned regularly! To avoid this potential for bacteria build-up, use alcohol wipes to clean the metal parts of the curler. If the rubber pad becomes dirty or worn, replace it to ensure optimal performance.
7. Replace Parts as Needed
Replace the rubber pad on your curler every two to three months or sooner if it shows signs of wear. Signs that it’s time for a replacement include visible cracks or tears in the pad. This wear and tear can lead to uneven curls, damage to your lashes, and more room for bacteria to grow, so be sure to replace them regularly.
Become an Eyelash Curling Expert
To make the most of your eyelash curler, always start with clean, dry lashes and select a curler suited to your eye shape and lash type. Remember to position the curler correctly and gently pump to achieve a long-lasting curl. To ensure the health of your eyes and lashes, always clean your curler regularly and replace parts as needed. Don’t be afraid to experiment with different techniques and find what works best for your individual needs. With practice and the right approach, you can master the art of curling your lashes quickly and efficiently.
